Unlocking the Power of No-Soak Dried Black Eyed Peas: Creamy Stovetop or Instant Pot
Forget the myth that dried beans demand an overnight soak! With this comprehensive guide, you’re about to discover an incredibly simple and flavorful way to cook dried black eyed peas without any pre-soaking. Whether you prefer a rich, creamy side dish that melts in your mouth or perfectly tender peas ready for vibrant salads and dips, we've got you covered. This versatile
black eyed peas recipe will transform humble legumes into a culinary delight, all achievable on your stovetop or with the magical convenience of an Instant Pot.
Dried black eyed peas offer superior flavor and texture compared to their canned counterparts, and they are significantly more economical. Packed with plant-based protein, fiber, and essential nutrients, they are a powerhouse addition to any diet. So, let’s ditch the can opener and dive into the satisfying world of home-cooked black eyed peas.
More Than Just a Pea: The Versatile World of Black Eyed Peas
Before we delve into cooking methods, let's clear up a common misconception: black eyed peas aren't actually peas at all! They are technically beans, members of the expansive legume family, alongside popular staples like chickpeas and black beans. While often associated with the hearty cuisine of the American South, where they hold a special place as a New Year's Day tradition symbolizing good luck and prosperity (often in dishes like Hoppin' John – you can explore more about this tradition in our article
Easy Southern Black Eyed Peas: Good Luck for Your New Year), their origins trace back much further to Africa, where they have been a dietary staple for centuries and are enjoyed in countless ways across the globe.
This rich history speaks to their incredible adaptability. Black eyed peas can anchor a meal, serve as a delightful side, or integrate into lighter fare. Our favorite
black eyed peas recipe showcases this versatility beautifully, allowing you to tailor the texture to your culinary vision. You can cook them until they are
just tender, maintaining their shape for crisp salads or chunky dips like Texas caviar, or you can cook them longer until they are wonderfully soft and start to break down, forming a creamy, dreamy sauce perfect for a comforting side dish. The choice is yours, and both are absolutely delicious!
Mastering Your Black Eyed Peas Recipe: Stovetop vs. Instant Pot Methods
Cooking dried black eyed peas from scratch might sound intimidating, but it's surprisingly straightforward. The beauty of this no-soak method is its simplicity and adaptability. Below, we'll guide you through both stovetop and Instant Pot techniques, ensuring perfect results every time, whether you're aiming for firm or creamy.
The Stovetop Method: Achieving Creamy Perfection or Salad-Ready Beans
The stovetop is a classic way to prepare black eyed peas, offering a hands-on approach to monitoring texture.
Basic Preparation:
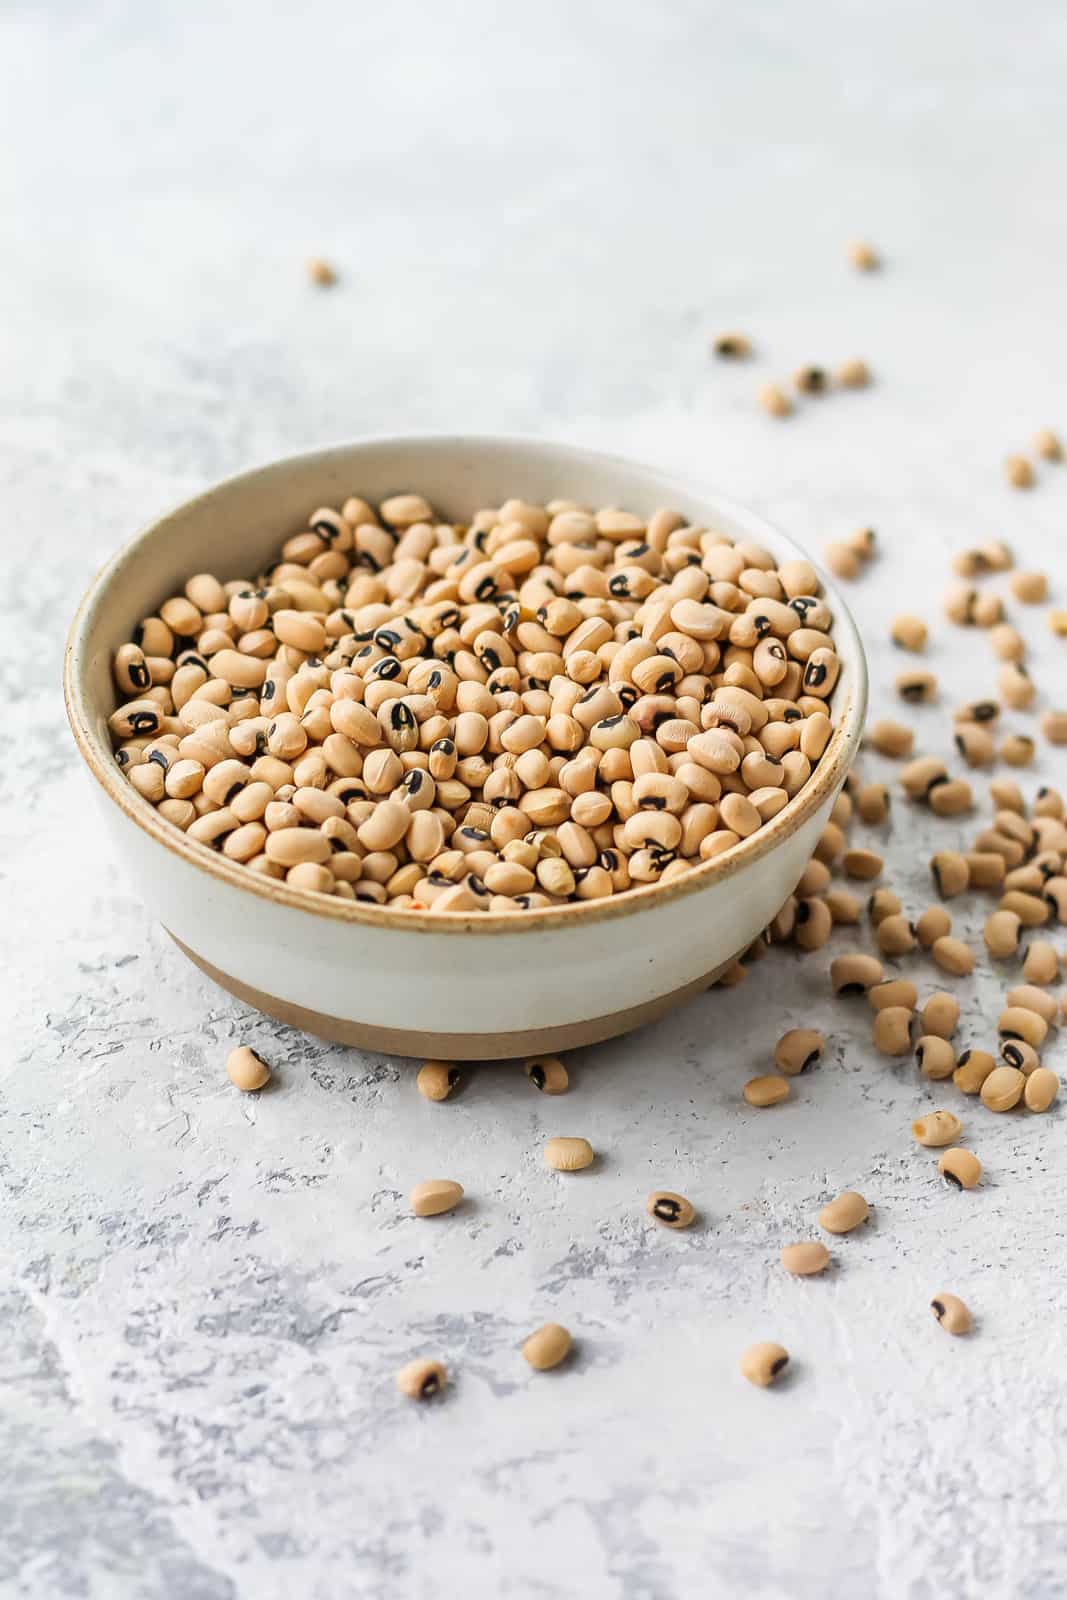
Start with 1 pound of dried black eyed peas. Give them a quick rinse under cold water to remove any dust or debris, and quickly sort through them to check for any small stones or imperfect peas. Place the rinsed peas in a large, heavy-bottomed pot. Add enough liquid – a combination of vegetable broth for depth of flavor and water – to cover the peas by at least 2-3 inches, along with a good pinch of salt. For 1 pound of peas, typically 6-8 cups of liquid is a good starting point. Bring to a boil, then reduce heat to a gentle simmer, cover, and cook.
For Salads and Dips (Just Tender):
If your goal is to use the peas in dishes where they need to hold their shape, such as a vibrant black eyed pea salad or a zesty Texas caviar, you'll want them *just tender*. This typically takes
40 to 50 minutes on the stovetop. Check for doneness by tasting a pea – it should be tender but still firm enough not to mush. Once cooked to your desired tenderness, drain the peas thoroughly and let them cool before incorporating them into your recipe.
For a Creamy Side Dish (Very Tender & Saucy):
This is where the magic happens for an incredibly rich and smoky side dish! Continue cooking the peas for
55 to 60 minutes, or even slightly longer, until they are very tender and visibly starting to break down. You’ll notice there will be a fair amount of liquid remaining in the pot – this is crucial for the sauce!
Now, for the flavor bomb: Add 2-3 cloves of minced garlic, 1 teaspoon of dried oregano, 1 teaspoon of onion powder, and most importantly, 1-2 teaspoons of
smoked paprika. Smoked paprika lends an irresistible depth and a savory, smoky undertone that elevates the dish without needing any meat. If you only have regular paprika, it can be substituted, but the smoked version truly makes a difference. Stir vigorously, using the back of your spoon or a potato masher to gently crush some of the peas against the side of the pot. As you stir, the broken-down peas will release their starches, thickening the cooking liquid into a luxurious, creamy sauce. For an extra touch of richness, stir in a tablespoon of unsalted butter at the very end. Taste and adjust seasoning as needed – a dash of apple cider vinegar can brighten the flavors, or a pinch of cayenne for a subtle kick. This method truly creates a memorable dish. You can find more insights on cooking these versatile legumes in our guide:
Master Easy Black Eyed Peas: Two Ways for Creamy Sides or Salads.
The Instant Pot Method: Hands-Off Creaminess in Minutes
For those who love convenience and a truly hands-off approach, the Instant Pot is a game-changer for this
black eyed peas recipe. It delivers incredibly tender, often even creamier beans with significantly less active cooking time.
Basic Preparation:
Again, start with 1 pound of rinsed and sorted dried black eyed peas. Place them in your Instant Pot inner pot. Add 6-7 cups of liquid (broth/water mix) and 1 teaspoon of salt. You can also add aromatics like a halved onion, a few bay leaves, or a crushed garlic clove at this stage for added foundational flavor.
For Salads and Dips (Just Tender):
Secure the lid and set the Instant Pot to high pressure for
15-18 minutes. Allow for a 10-minute natural pressure release (NPR), then quick release any remaining pressure. Drain the peas immediately if they are at your desired tenderness to prevent further cooking.
For a Creamy Side Dish (Very Tender & Saucy):
For that wonderfully creamy texture, set the Instant Pot to high pressure for
20-22 minutes. Allow for a full natural pressure release (NPR). This longer cook time and full NPR ensure the peas are exceptionally tender and have started to break down, creating a natural thickening for your sauce. Once the pressure has fully released, open the lid and stir in your flavor enhancers: minced garlic, smoked paprika, oregano, and onion powder. Stir vigorously, gently mashing some of the peas, just as you would with the stovetop method, to create that rich, creamy sauce. Finish with a pat of butter if desired, and adjust seasonings. The Instant Pot often requires slightly less liquid than the stovetop for the same quantity of peas, so keep that in mind.
Essential Tips for the Ultimate Black Eyed Peas Recipe
To truly elevate your black eyed peas experience, consider these additional tips:
*
Always Sort and Rinse: Even if they look clean, always sort through dried peas to remove any debris or small stones. A quick rinse removes surface dust.
*
Seasoning is Key: Don't just add salt at the end. Salting the cooking liquid from the beginning helps season the peas from the inside out. Layering flavors with aromatics like onions, garlic, bay leaves, and spices (especially smoked paprika!) is what transforms a simple bean into an extraordinary dish.
*
The Broth Advantage: While water works, using vegetable broth (or chicken broth if not strictly vegetarian) instead of just water significantly deepens the flavor profile of your
black eyed peas recipe.
*
Adjusting Consistency: If your creamy peas are too thick, add a splash more hot broth or water. If they’re too thin, continue to gently simmer on the stovetop (even after Instant Pot cooking) until the sauce reduces, or mash a few more peas to release starches.
*
Serving Suggestions: Beyond traditional Southern sides, creamy black eyed peas are fantastic with cornbread, rice, or as a bed for roasted vegetables or grilled chicken. The firmer version shines in cold salads, grain bowls, or as a hearty addition to tacos and burritos.
*
Storage: Leftover cooked black eyed peas store beautifully in an airtight container in the refrigerator for up to 3-4 days. They also freeze well for up to 3 months, making them perfect for meal prep.
No matter which method you choose, cooking dried black eyed peas from scratch is a rewarding experience that yields delicious, wholesome results. The no-soak approach makes it incredibly accessible, proving that gourmet flavors don't have to come with hours of preparation.
Embrace the Simplicity and Flavor
There you have it – a comprehensive guide to crafting a spectacular
black eyed peas recipe, completely from scratch and without the need for an overnight soak. From a soul-warming, creamy stovetop side dish bursting with smoky flavor to quick, firm Instant Pot peas perfect for vibrant salads, these versatile legumes are ready to become a staple in your kitchen. Experiment with the different methods and textures, adjust the seasonings to your preference, and discover the incredible depth of flavor and nutrition that dried black eyed peas bring to your table. Happy cooking!